


HSR-02 Glass Bottle Thermal Shock Tester
2026-08-04 16:51Introduction to Glass Container Thermal Shock Testing
Glass containers — from beverage bottles and beer bottles to food jars and pharmaceutical vials — are indispensable across the food, beverage, and pharmaceutical industries. Their transparency, chemical inertness, and excellent barrier properties make them the packaging material of choice for premium products.
However, glass is inherently brittle, and one of its most critical performance characteristics is its ability to withstand sudden temperature changes. When a glass bottle moves from a refrigerated truck at 4°C to a sun-exposed loading dock at 40°C, or when a consumer pours boiling water into a bottle fresh from the refrigerator, the resulting thermal stress can cause catastrophic failure — ranging from micro-cracks and leakage to complete bottle explosion.
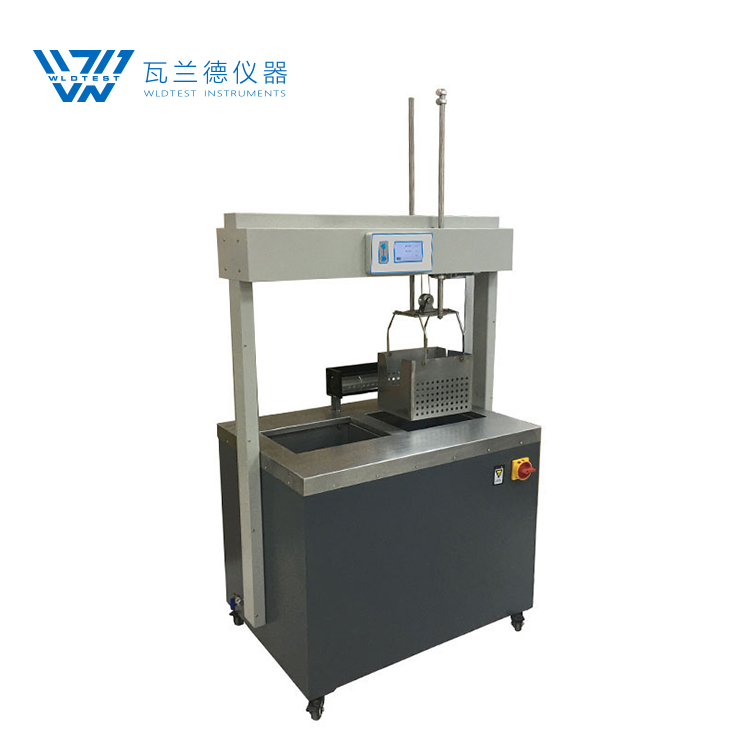
This is precisely why thermal shock resistance is among the most critical quality control parameters for glass container manufacturers. The international standard ISO 7459:2004 — Glass containers — Thermal shock resistance and thermal shock endurance — Test methods, provides the definitive framework for evaluating this property. To perform these tests accurately, reliably, and efficiently, specialized instrumentation is essential.
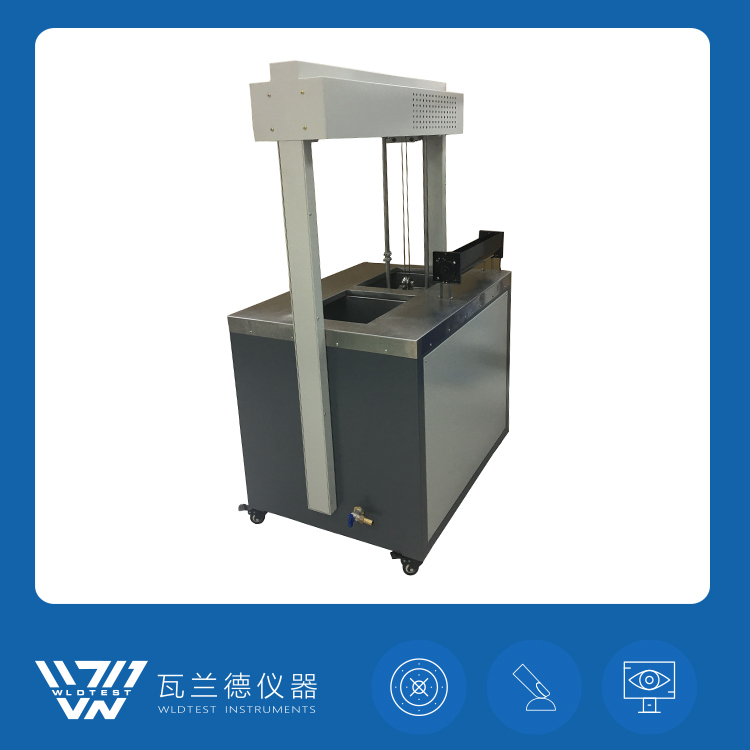
The glass bottle thermal shock tester has been developed specifically to meet the requirements of ISO 7459:2004, offering a complete, turnkey solution for glass container thermal shock evaluation.
Specific Test Procedure Using glass bottle thermal shock test machine
Step 1: Bath Preparation
Fill both the hot and cold baths with clean water, ensuring the volume satisfies the minimum 8 dm³ per kilogram of glass to be tested. Set the hot bath temperature to the required upper limit t₁ (typically 60–80°C for soda-lime glass containers, or higher for borosilicate glass) and the cold bath to the required lower limit t₂ (typically 22 ± 5°C). The thermal shock resistance tester for glass containers PID controllers will bring each bath to temperature and maintain it within ±1°C.
Step 2: Specimen Loading
Place the glass containers to be tested into the specimen basket. Ensure that all containers are empty and free of visible defects. The basket should allow water to freely circulate around each container. Lower the basket into the hot bath, ensuring the containers are fully submerged with at least 50 mm of water above the highest point of any container.
Step 3: Thermal Equilibrium
Allow the specimens to dwell in the hot bath for a minimum of 5 minutes, or longer for containers with thicker walls, to ensure that the entire container — inside and out — reaches thermal equilibrium at t₁.
Step 4: Rapid Transfer and Observation
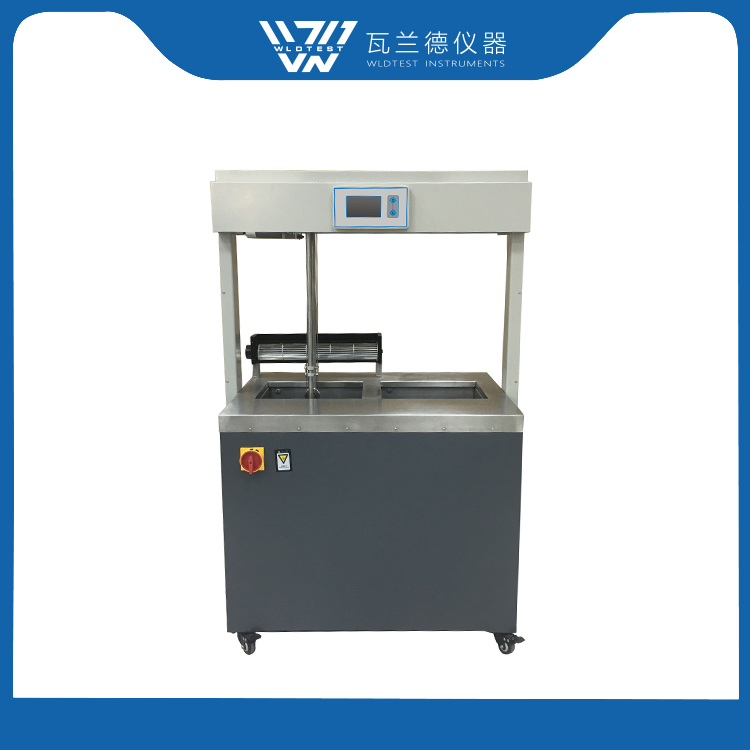
Press the transfer button to activate the motorized lifting sequence. The basket automatically rises from the hot bath, traverses horizontally, and descends into the cold bath — all within 10 seconds. After the specimens have cooled in the cold bath for the prescribed period, lift the basket and visually inspect each container. Any container exhibiting cracks, chips, or complete fracture is recorded as a failure. For thermal shock endurance testing, surviving containers are returned to the hot bath for the next cycle.
Step 5: Results Documentation
Record the number of specimens tested, the number of failures, the test temperatures t₁ and t₂, and the transfer time. For endurance tests, record the cycle number at which each failure occurred. The glass container thermal shock testing equipment's built-in data logging system facilitates traceable record-keeping in compliance with ISO 7459:2004 and relevant quality management system requirements.
As consumer expectations for product safety and quality continue to rise, and as regulatory frameworks around the world tighten their grip on packaging standards, reliable thermal shock testing is no longer optional glass bottle hot cold shock tester— it is essential.